
This finishing technique describes how to create a mini banner ornament from your finished project. It is best suited for projects that are under 5" (13cm) wide.
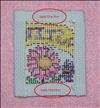
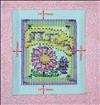 Trim your finished piece so you have a 3/8" (10mm) space between the edge of the fabric and the stitching on all sides.
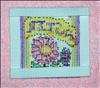 With your completed stitching turned faced-down, fold the top and bottom edges over 3/8" (10mm) towards the center and iron flat.
With your completed stitching still turned faced-down, fold the left and right edge over 3/8" (10mm) towards the center and iron flat.
Cut a piece of felt to completely cover the back of the ornament. This will be used in Step 7.
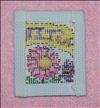
 Apply a small amount of white glue to both layers of fabric formed by the fold at each corner. Press down until the glue has set.
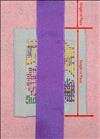
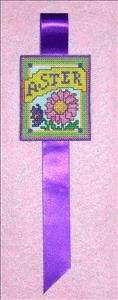
Measure the height of project after completing Step 4. Cut a piece of ribbon to a length that is four (4) times the height. For the sample project, the project measured 3" (7.6cm) in height so the ribbon required would be 3" x 4 or 12" (30.5cm).
Run a 1" (2.5cm) wide band of glue at center of the top and bottom edges of the back of the project (See picture to the right). Position the ribbon on the glue so that a length of ribbon extends from the top that is as tall as the piece. So if you piece is 3" (7.6cm) tall, leave a 3" (7.6cm) length of ribbon from the top edge of your piece.
*If the ribbon has a finished and an unfinished side, make sure that the finished side is face-down!
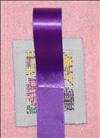 Place a bead of glue on the ribbon running horizontally at center of the stitched piece. Fold over the ribbon from the top onto the glue and hold in place until set.
 Cut the bottom end of the ribbon at an angle as shown in the picture on the right.