
While not a finishing technique in and of itself, braided cording and tassels can be used to dress up other project finishes like the Filled Pillow With Optional Braid & Tassel. While you can purchase cording from a craft store, you may not be able to find the exact color you need. These instructions allow you to create cording from cross-stitch floss.
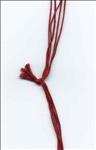 Divide the strands of floss evenly into two groups and knot together tightly at one end forming a single length of floss with a knot in the middle.
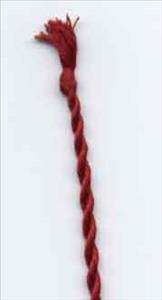
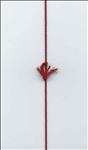 Secure one end of the floss to something stationary or get someone else to hold the end. Pull the floss tight and begin twisting the opposite end until the bundle is tight*. Make sure to keep the floss tight to prevent the floss from coiling up. The tighter you make the twists, the tighter the resulting braid will be.
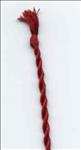 While continuing to hold the floss tight, firmly grasp the knot in the center and bring the two far end together. Gradually release the knot at the center. The two strands of floss will begin to twist together forming a coil. Tie a knot in the end opposite the knotted end.