
This finishing technique shows how to mount a stitched bookmark on coordinating cardstock for a clean, durable finish.
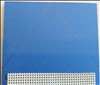
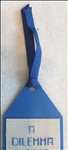
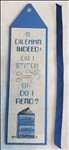
 Cut a piece of coordinating cardstock to fit your bookmark design, leaving enough length at the top to shape a bookmark point.
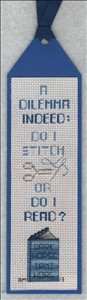
 Trim around the stitching leaving approximately one Aida block all around.
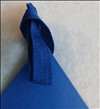
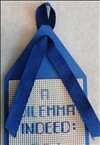
 Thread ribbon through the punched hole, pull the loop snug, and trim the ribbon ends to finish the bookmark.