
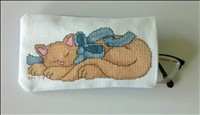
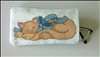
This finishing technique can be used to create an eyeglass case from a suitably sized cross stitch project.
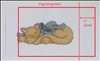
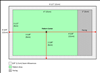 Find the center of your stitched piece and trim to these measurements:
 Cut the following items:
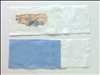
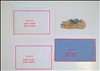
 With the previously ironed pieces, take the cross stitched piece with lining face-up and put the backing with lining over the piece. The lining pieces should be together. Pin batting to the back of the stitched piece aligned to the left edge of the stitched piece. Repeat for the backing. Pin all layers together as shown in the images.

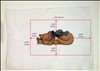
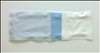
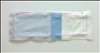 Stitch the pieces together using 5/8" (1.5cm) inseams along the pattern side and then taper to 3/4" (2cm) inseams on the lining side as shown in the first picture. Be sure to leave an opening on the right edge which will be used to turn right-side out.
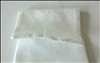
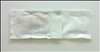
 Carefully push the lining inside the case and iron the complete item flat. Cover your cross stitch before ironing so as to not damage the stitches.