
This finishing technique can be used to create bookmarks from any suitably sized stitched project that has enough extra farbic for a frayed edge.
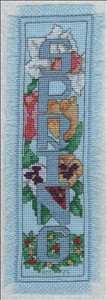
 Select a pattern that is rectangular and cut your fabric leaving at least 1/2" (1.27cm) extra fabric on all sides.
Center and stitch design of choice.
Select a pattern that is rectangular and cut your fabric leaving at least 1/2" (1.27cm) extra fabric on all sides.
Center and stitch design of choice.
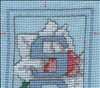 After all stitching is completed, stitch using the extra floss two squares around the entire stitched design to form a border.
 Trim design a minimum of five squares from the border stitched in step 2.
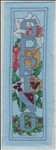
 To create the frayed edges, pull out the fabric threads along the vertical and horizontal edges, going up to the stitched border. The stitched border prevents the fray from unravelling any further.
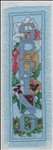
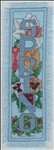 To complete your bookmark, trim the frayed edges so that they are all a uniform length.