
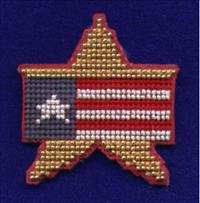
This finishing technique describes how to add a magnetic backing to a perforated paper cross-stitch project turning it into a refrigerator magnet.
 Trim your completed stitching to within 1/2" (1.3 cm) of the edge of the stitches. There's no need to follow the exact outline of the stitches at this time.
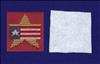
 Cover the back of the perforated paper with a light coat of white glue. Take the piece of felt cut in Step 2 and center onto the back of your project. In order to ensure that the felt adheres to the perforated paper, put a heavy book or other heavy object on the back and leave set until dry. Note that some felt is sold with an adhesive backing which may not hold as well over time.
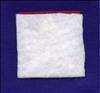
 After the felt has dried thoroughly, cut a piece of Magnetic Sheet that is large enough to cover the back of the project. Remove the plastic covering from the adhesive backing. Put a thin bead of hot glue around the edge and in the center of the magnet on the adhesive side. Before the hot glue hardens, press down firmly onto the felt. The hot glue is needed since the adhesive from the Magnetic Sheet usually won't last over time.
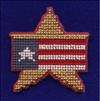 Using a small pair of scissors, trim the excess perforated paper as close as possible to your stitches. You want to avoid cutting a hole in half that contains stitches. Alternately, you can trim to any other shape that works for the pattern like a square, circle, or oval.