
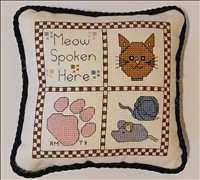
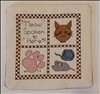
Use this finishing technique to create a decorative pillow for patterns larger than 4" (10cm)".
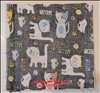
 Trim your stitched piece to the size you want for you finished pillow adding 5/8" (16mm) on all sides. Cut fabric and batting pieces to the same size.
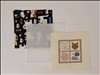
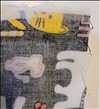
 Place the batting on the back of your stitching and then put the right side of the fabric piece on the front of your stitching.
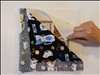
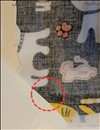
 Turn the stack of fabric over so the fabric is on top. Use either clear tape or tailors chalk to mark a 5/8" (16mm) seam allowance around all edges leaving a section about 1/3 the side of your pattern unpinned (see red dashed line in picture). Pin along the seam allowances to hold together while stitching (see red arrows in picture). Do not pin on opening that will not be stitched.
 Sew along the lines marked for the seam allowances in previous step. Be sure to not stitch the section left for the opening.
 Trim corners at a 45 degree angle being careful to not cut the stitches at the corners.
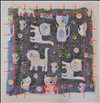
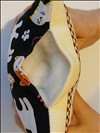
 Using the unstitched opening, turn the pillow outside-in so that your stitched piece is on the front and the fabric is on the back. The batting should remain on the inside.
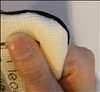
 Using a point-turner, carefully poke each of the corners so that they are as square as possible. Be careful to not rip any stitches. Once the corners haev been turned, iron the completed piece making a crisp seam at the opening.
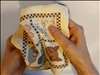
 Fill will Poly-fil starting at the corners. You can use a point-turner to help push the filling into the corners.
 Using a needle and thread, slip-stitch the opening closed.
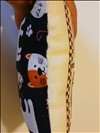
 Trim the end of the cotton drawstring and put a small amount of hot glue on the end to keep from fraying. Starting at the botton of the pillow, carefully put a short line of hot glue along the seam and then press and hold the cotton drawstring into the glue. Continue this process until you are within about 2" (3cm) of the starting point. Cut the drawstring so that it will meet the starting point and use a small amount of hot glue on the end to keep from fraying. Glue the last piece of drawstring in place adding a small amount of hot glue on the end to attach to the starting point.
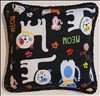
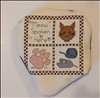
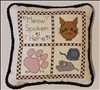 This completes the stitched pillow.